Media calibration ensures that the printer correctly detects label gaps or marks and positions print output accurately.
✅ It is recommended to recalibrate the printer if you've recently changed media types or label size to ensure proper gap detection.
-
Press the Offline button on the operator panel to switch the printer to Offline mode.
-
Press the Menu button
to open the Settings menu.
-
Use the navigation buttons
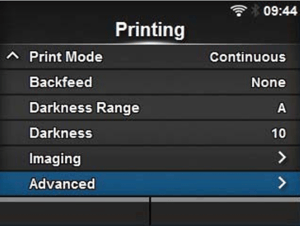
 to select Printing, then press Enter
 -
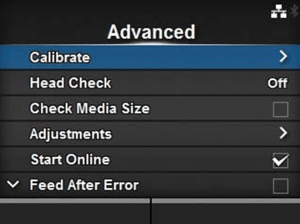
Select Advanced, then press Enter
-
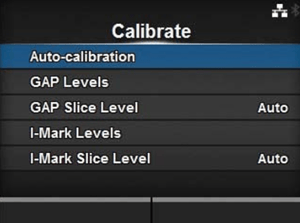
Select Calibrate, then press Enter
-
Select Auto Calibrate, then press Enter
-
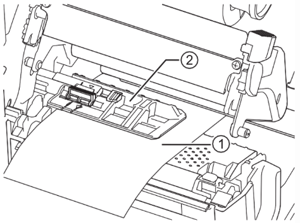
Prior to starting the calibration, the label liner will need to be prepared correctly.
-
Open the print head on the printer.
-
Feed the media using the media sensor guide. If there are labels on the liner, remove all labels from the liner at the sensor position. This would normally require removing 3 - 4 labels.
-
Close the print head once the liner is aligned.
-
-
Press start to begin the calibration.
After calibration completes:
-
If Calibration Success is displayed, the process is complete.
-
If Calibration Failed is displayed, repeat the procedure and verify that the liner is correctly positioned before restarting calibration.
Return to the main screen and feed the labels to verify alignment.