![Ramp_Logo_Saphire-Nov-06-2023-11-33-51-7748-PM.png]](https://support.ramprfid.com/hs-fs/hubfs/Ramp_Logo_Saphire-Nov-06-2023-11-33-51-7748-PM.png?height=39&name=Ramp_Logo_Saphire-Nov-06-2023-11-33-51-7748-PM.png)
The File Upload function allows users to upload files from their PC to the Ramp Web Portal to create, update and delete data. You can use a Template to enable this to be done without having to reconfigure the settings in Locafi every time.
Creating a Reusable CSV Template
If you are doing uploads regularly, it is easiest to create a reusable template that automatically converts data into a format that can be directly uploaded to Ramp. The template will typically have two sheets: the first sheet for raw data to be pasted in, and the second sheet as the output sheet with formulas.
Once the output is generated, copy the data intoa CSV file and upload it to Ramp.
- Create a folder for the template and import files on your PC.
- Copy and Ctrl-Shift-V paste the raw data to the first sheet (this preserves formatting)
- Add a second sheet on the same file. Add the fields that you want to upload.
- Add formulas to auto-populate the sheet from the raw data.
- Check that the number of rows the formula is applied to matches the raw data.
- Copy and Ctrl-Shift-V paste the converted data into an empty spreadsheet (this preserves formatting).
- Save the spreadsheet as a CSV with the date of the upload into the same folder.
- Upload the file.
Creating a Template in Locafi
The templates will be split into 2 categories.
- My Templates: These templates are unique to the currently logged on user and can only be seen by them.
- Global Templates: These templates are visible to all users.
To select a given template, click Load to load the template and continue with the upload operation.
In both cases, the screen will continue onto the Upload Settings page.
Upload Settings
The upload settings are described as follows:
Required Fields
Based on what combination of upload settings are selected, a section of required fields will be shown that will need to be present in the file that are mandatory to be present before the file can be uploaded.
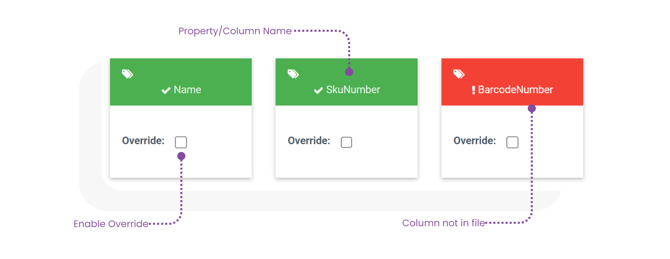
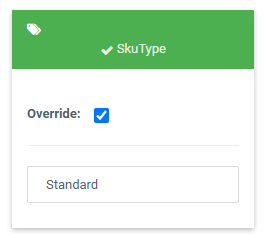
The override toggle will allow you to manually enter in a constant value for all the records. When you tick the box, a textbox will appear, which you can type the value in. This is particularly useful when setting a constant property but was not set within the file, e.g. SkuType.
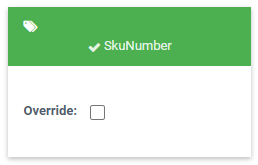
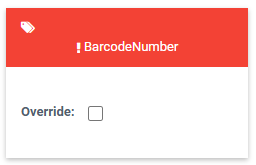
The property boxes will display one of two colours to indicate if it has been correctly set within the file:
- Green: The column headers of the selected file correctly match the relevant property.
- Red: The column headers do not correctly match the given property.
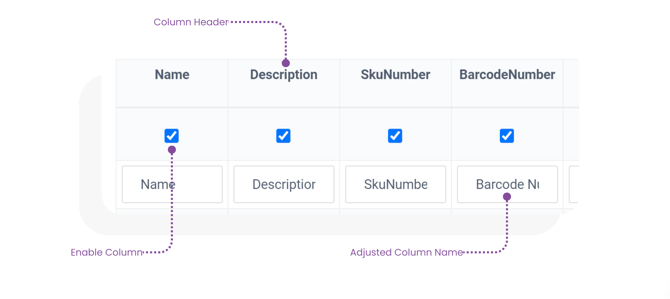
Once all the fields are complete and appear as green, the Upload button will no longer be greyed out and can be pressed to proceed with the upload.