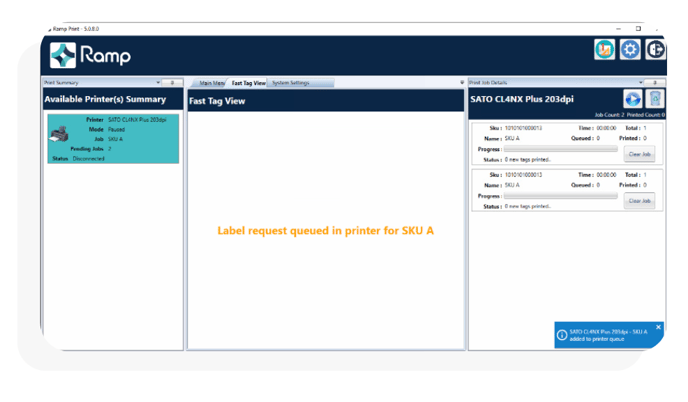
How to Fast Tag/ Barcode Scan Print
Fast Tagging and Barcode Scanning enables users to reprint previously printed tags using a barcode scanner. Here’s how it works:
-
Connect the Scanner: Plug a barcode scanner into your computer's port.
-
Download Drivers: Ensure that all scanner drivers are downloaded and up to date using the scanner's manuals.
-
Configure Scanner: If the scanner does not work, use the scanner's user manual to configure it for your computer.
- Select Scanner COM Port: In the Ramp Print App settings select the scanner COM Port
a. Open the settings app by searching in the windows search bar.

b. In the Settings app navigate to the devices menu.

c. Select the Devices and Printer Settings Menu.

d. Select the scanner's device menu.

e. Navigate to the Device's Hardware Page.

f. Note the Serial COM Port of the scanner (in this case COM5).

g. In the Ramp Print App, navigate to the Printer Settings and select the COM Port noted in the step before.

5. Select Defaults: Select default Printer, Place and Template.

6. Select Scan and Print: Choose the scan and print option in the Ramp Print App.

7. Scan the Tag: Scan the tag’s barcode.

10. Print: The scanned tag will automatically be added to the queue.
This method allows for quick and efficient reprinting of tags by scanning existing ones and entering the desired quantity.