![Ramp_Logo_Saphire-Nov-06-2023-11-33-51-7748-PM.png]](https://support.ramprfid.com/hs-fs/hubfs/Ramp_Logo_Saphire-Nov-06-2023-11-33-51-7748-PM.png?height=39&name=Ramp_Logo_Saphire-Nov-06-2023-11-33-51-7748-PM.png)
Overview
When changing to a new RFID tag type, two components of the printing system may need to be updated:
-
RFID calibration settings on the printer
-
The print template used in Ramp Print
What is the purpose of the update?
RFID tag suppliers frequently release new versions of tags. Ramp will recommend switching tags when there is a performance and cost benefit to you. These updates ensure:
-
The RFID chip encodes correctly
-
The antenna is aligned correctly
-
The printed barcode and text are not misaligned or cut off
If the new tag is from the same manufacturer and it contains a new chip, only the RFID calibration settings need to be updated.
If the tag is from a new manufacturer, then the RFID calibration settings and the print template will need to be updated.
How to update the RFID Calibration Settings
Ramp may only be able to provide the new RFID calibration settings, so you will need to manually put them in.
Values shown in screenshots are examples only. Use the values Ramp provides.
They will provide:
- Name of Tag and Chip type (e.g. AD Eagle, U9 chip)
- Antenna position (i.e. Front, Normal)
- Read power
- Write power
- Tag offset
- Pitch size
- If RFID Tag Type is required to be set:
- Antenna X position
- Antenna Y position
Follow these steps below.
Part 1: Save the Old Profile
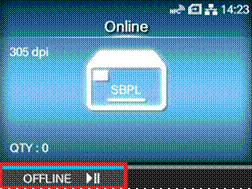
- On the RFID printer, change the printer to Offline.
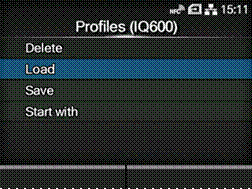
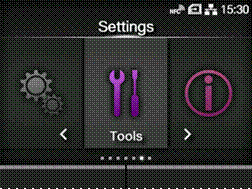
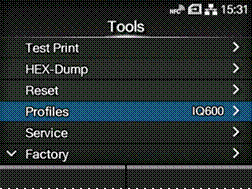
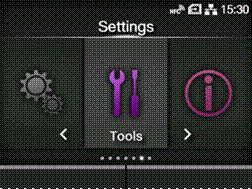
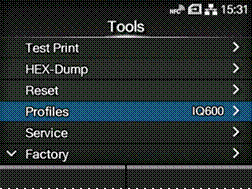
- Go to Settings → Tools → Profiles. If there is a profile already loaded, it will say next to Profiles. E.g. above it says “IQ600”.
- If the profile loaded already matches your tags or there is no profile loaded, then skip to Part 2.
- Select Profiles -> Save
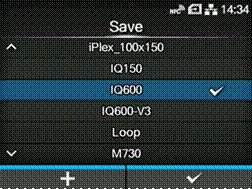
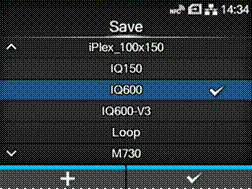
- Select the profile that was saved before. Select ✓.
Part 2: Update the Printing Settings
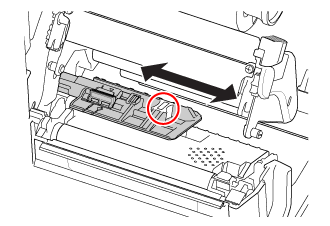
- Adjust the media sensor guide to the position where it can detect the I-mark or gap of the media.
- Go to Settings → Printing.
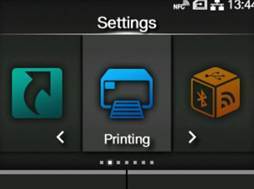
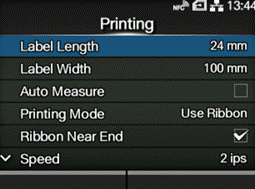
- Change Label Length and Label Width to the correct dimensions (Ramp will advise).
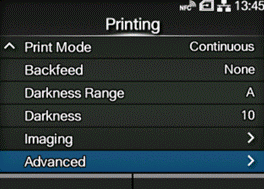
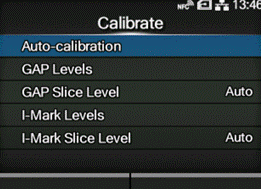
- Go to Advanced → Calibrate → Auto-calibration → Gap + I-Mark.
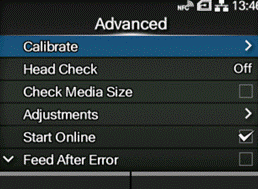
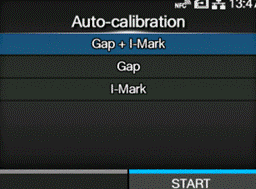
- Select Start.
- Take 3-4 tags off the roll so that you have a section of roll which is just paper. You should be left with about 15 cm of just paper
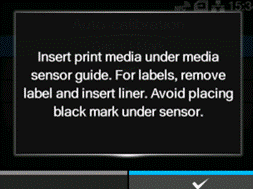
- Rewind the roll so that the start of the paper just sticks out the front of the printer.
- Hold the front of the paper and push the print head down to shut it.
- Select Calibrate.
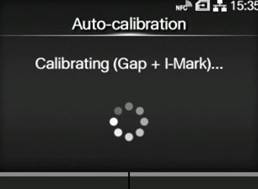
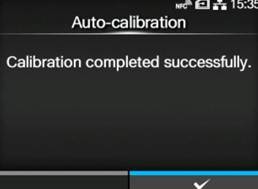
- Go back to Settings and select the Back arrow. The screen should show Offline.
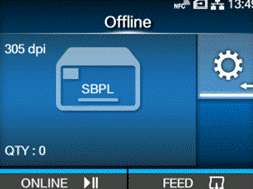
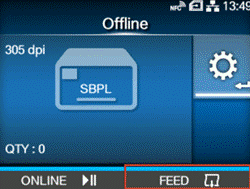
- Press Feed a few times and check that the tags are being fed out one by one. If they don’t feed out correctly, contact Ramp Support for more help.
Part 3: Update the RFID Settings
- Go to Settings → Interface → RFID.
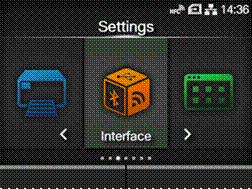
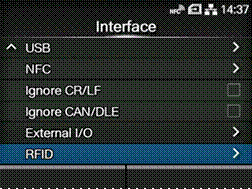
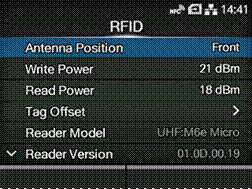
- Set the Antenna Position to what Ramp has advised (Front or Normal)
- Set the Write Power to what Ramp has advised.
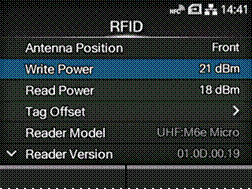
- Set the Write Power to what Ramp has advised.
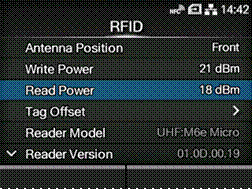
- Go to Tag Offset.
- Change the tag offset (ensure that you set it to a negative number if specified).
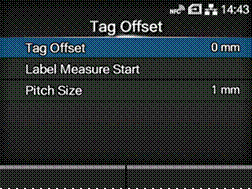
- Set the Pitch Size to what Ramp has advised.
Part 4: Update the RFID Tag Model
If Ramp didn't provide you with an X and Y antenna position, skip to Part 5.
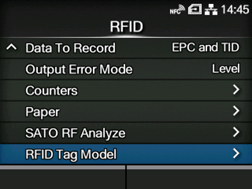
- Go to Settings -> RFID -> RFID Tag Model
.
- Select Edit.
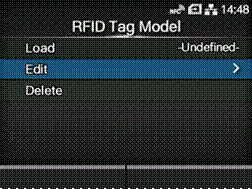
- Set the Antenna X Position, Antenna Y Position, Write Power, Read Power, Tag Offset, and Pitch Size.
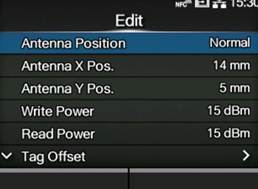
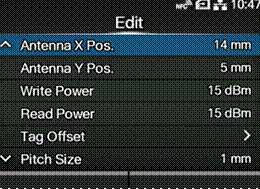
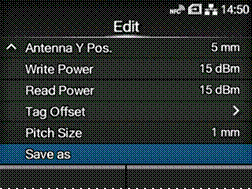
- Select Save as.
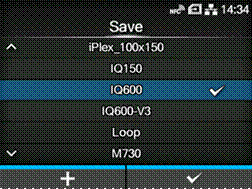
- Press the + button on the bottom left
- Type in the name of the tag and chip type (Ramp will provide this)
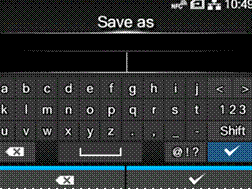
- Select ✓.
- Go back to RFID Tag Model.
- Select Load.
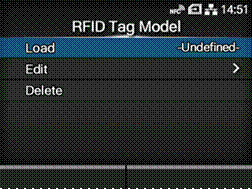
- Select the model you just created.
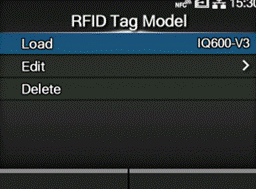
Part 5: Save and Apply the Profile
- Go back to Settings.
- Go to Tools → Profiles.
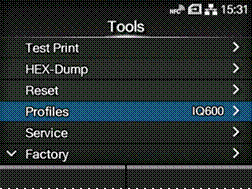
- Select Save.
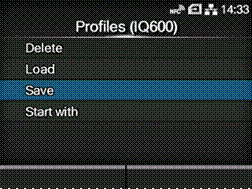
- Press the + button on the bottom left to create a new profile
.
- Type in the name of the tag and chip type (Ramp will provide this)
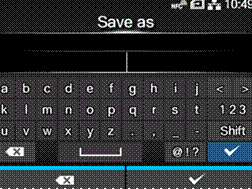
- Select ✓ to save
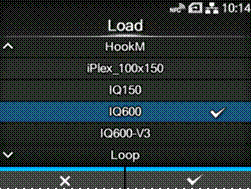
- Go to Load.
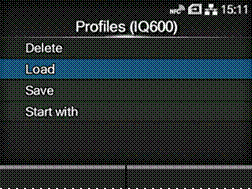
- Select the profile you just saved.
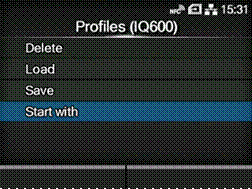
- Go to Start With.
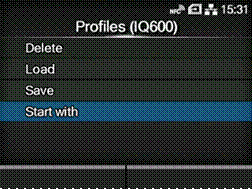
- Select the profile you just saved.
- Go back and switch the printer from Offline to Online.
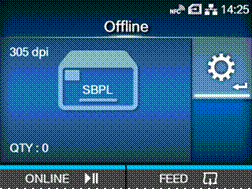
Important Notes
- Calibration settings and templates are tag-specific
- Each tag type requires its own profile
- Each tag type requires its own print template
- Reverting to the old tag requires reloading the old profile and template
Troubleshooting
Tags Not Encoding Correctly
- Confirm the correct printer profile is loaded
- Confirm the correct tag roll is installed
- Contact Ramp support if encoding errors persist
Barcode or Text Misaligned
- Confirm the correct print template is selected
- Print a single test label
- Contact Ramp support if alignment issues continue
Appendix: How to change the RFID profile
- On the RFID printer, change the printer to Offline.
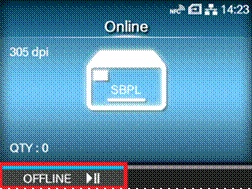
- Go to Settings → Tools → Profiles.
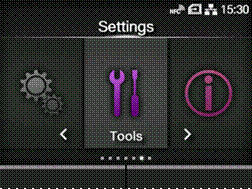
- Go to Load and select the new profile created for the new tag type.